Our Blog
Latest articles, tips, and insights about moisture control solutions.
NXT SeriesMaintenance
Filters: What You Need To Know
Learn about filter options and maintenance for the WatchDog NXT Series.
Troubleshooting TipNXT Series
Troubleshooting Tip: Why Is My Dehumidifier Leaking?
Leaking dehumidifier? This could help!

Troubleshooting TipNXT Series
Troubleshooting Tip: Why Isn’t My Dehumidifier Running?
What could it mean if my dehumidifier is not running?

NXT SeriesMaintenance
Annual Maintenance for NXT Dehumidifiers
Annual maintenance tips to keep your NXT dehumidifier running like new

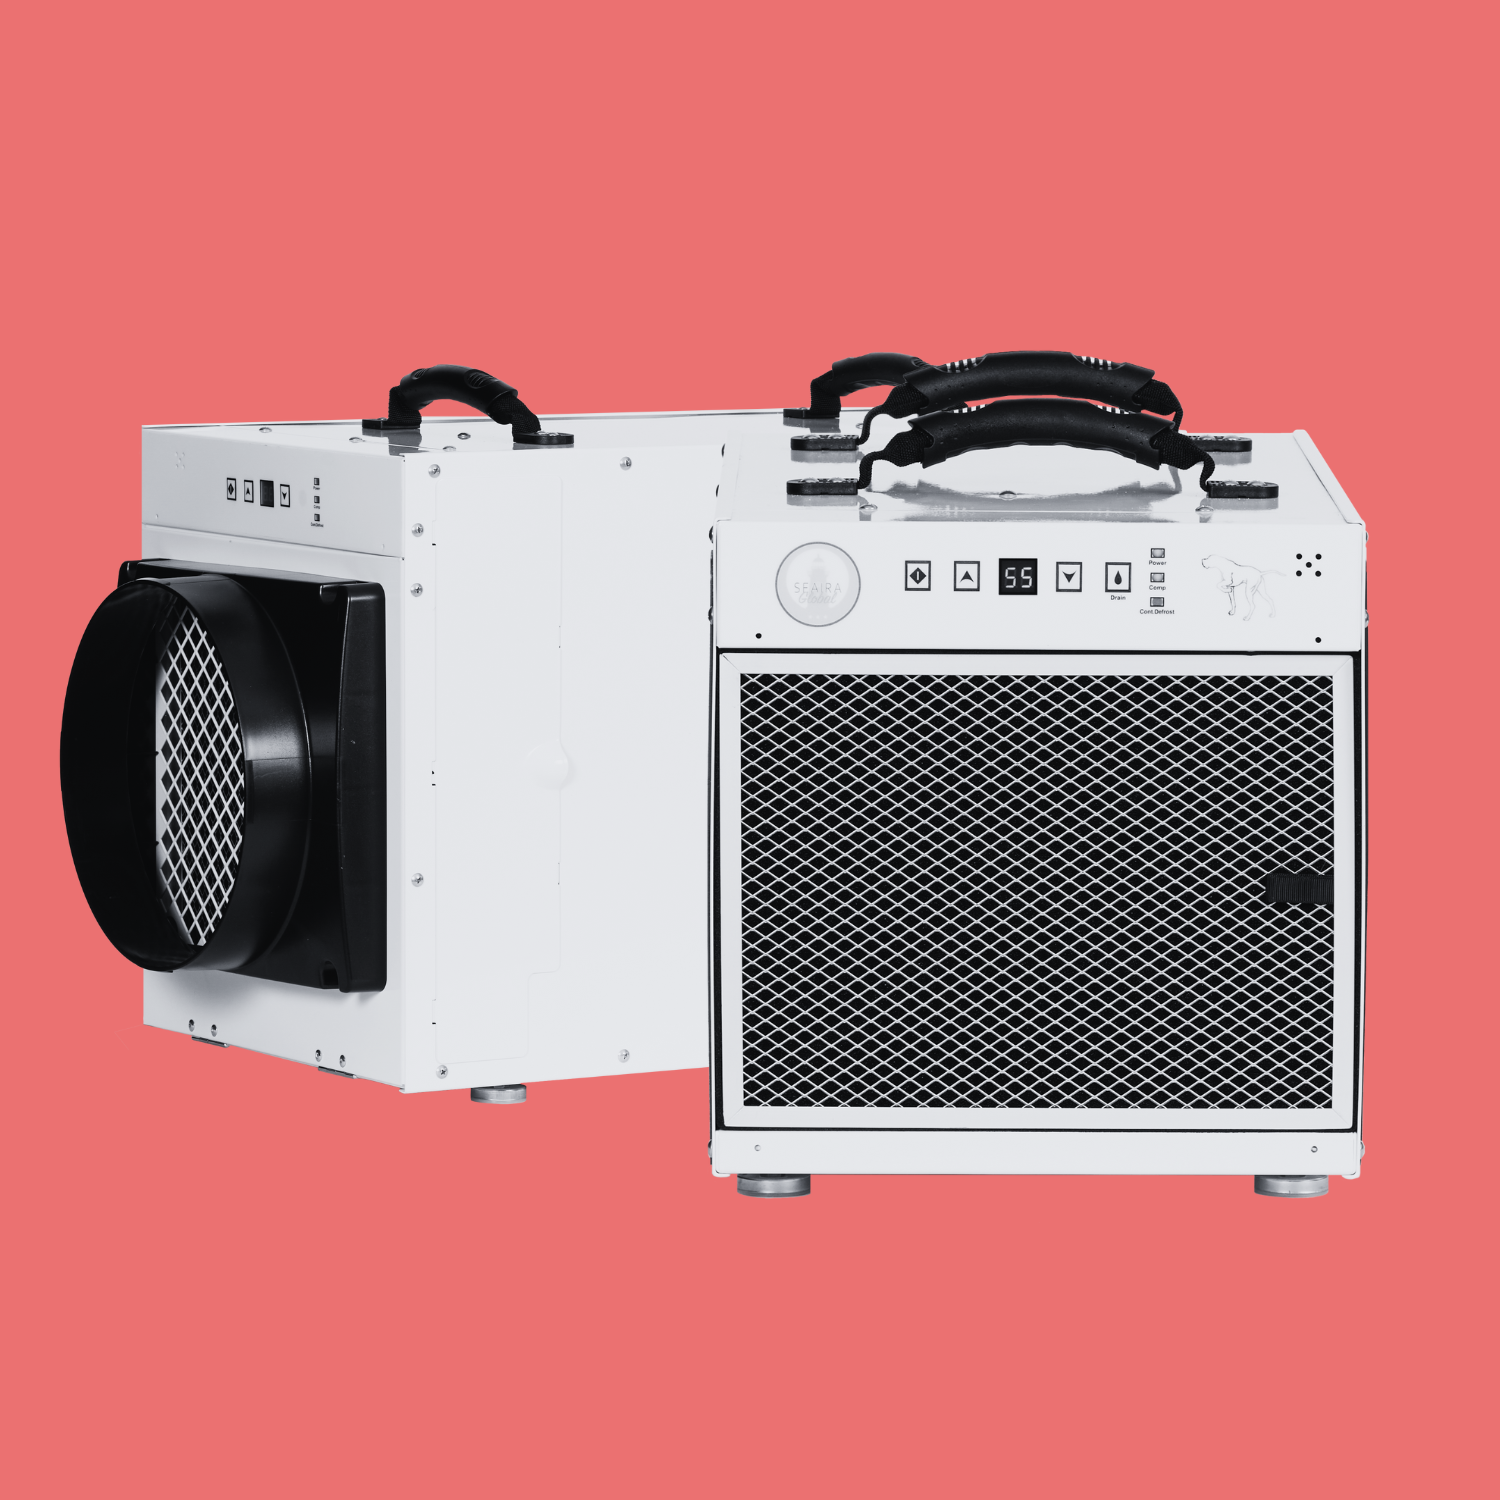
NXT Series
Meet the WatchDog NXT Series
Learn about the dehumidifiers in the WatchDog NXT Series

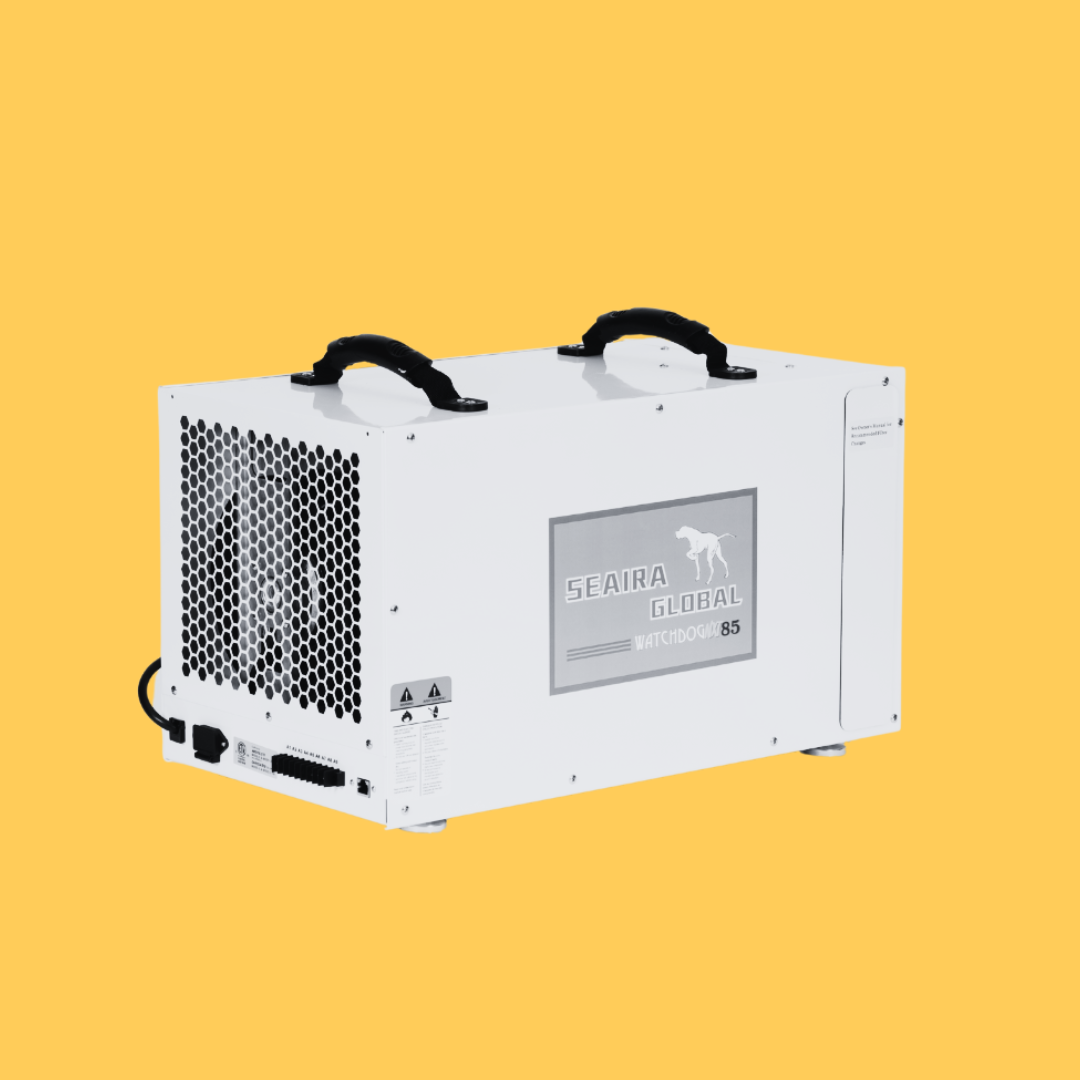
Stealth 70
Meet the Stealth 70 Dehumidifier
Learn about the new Stealth 70 Dehumidifier.

Troubleshooting TipNXT Series
Troubleshooting Tip: Dehumidifier Error Codes
What do the error codes mean on my NXT Dehumidifier?

Troubleshooting TipNXT Series
Troubleshooting Tip: My Dehumidifier Has a Flashing Light
What does it mean when there's a flashing light on the display?
No matching posts found
Try adjusting your search terms or filter selection.